
Brazil Pantanal Wildlife Adventure
September 4 - 12, 2024 - 3 Seats Remaining
September 10 - 18, 2025 - Sold Out
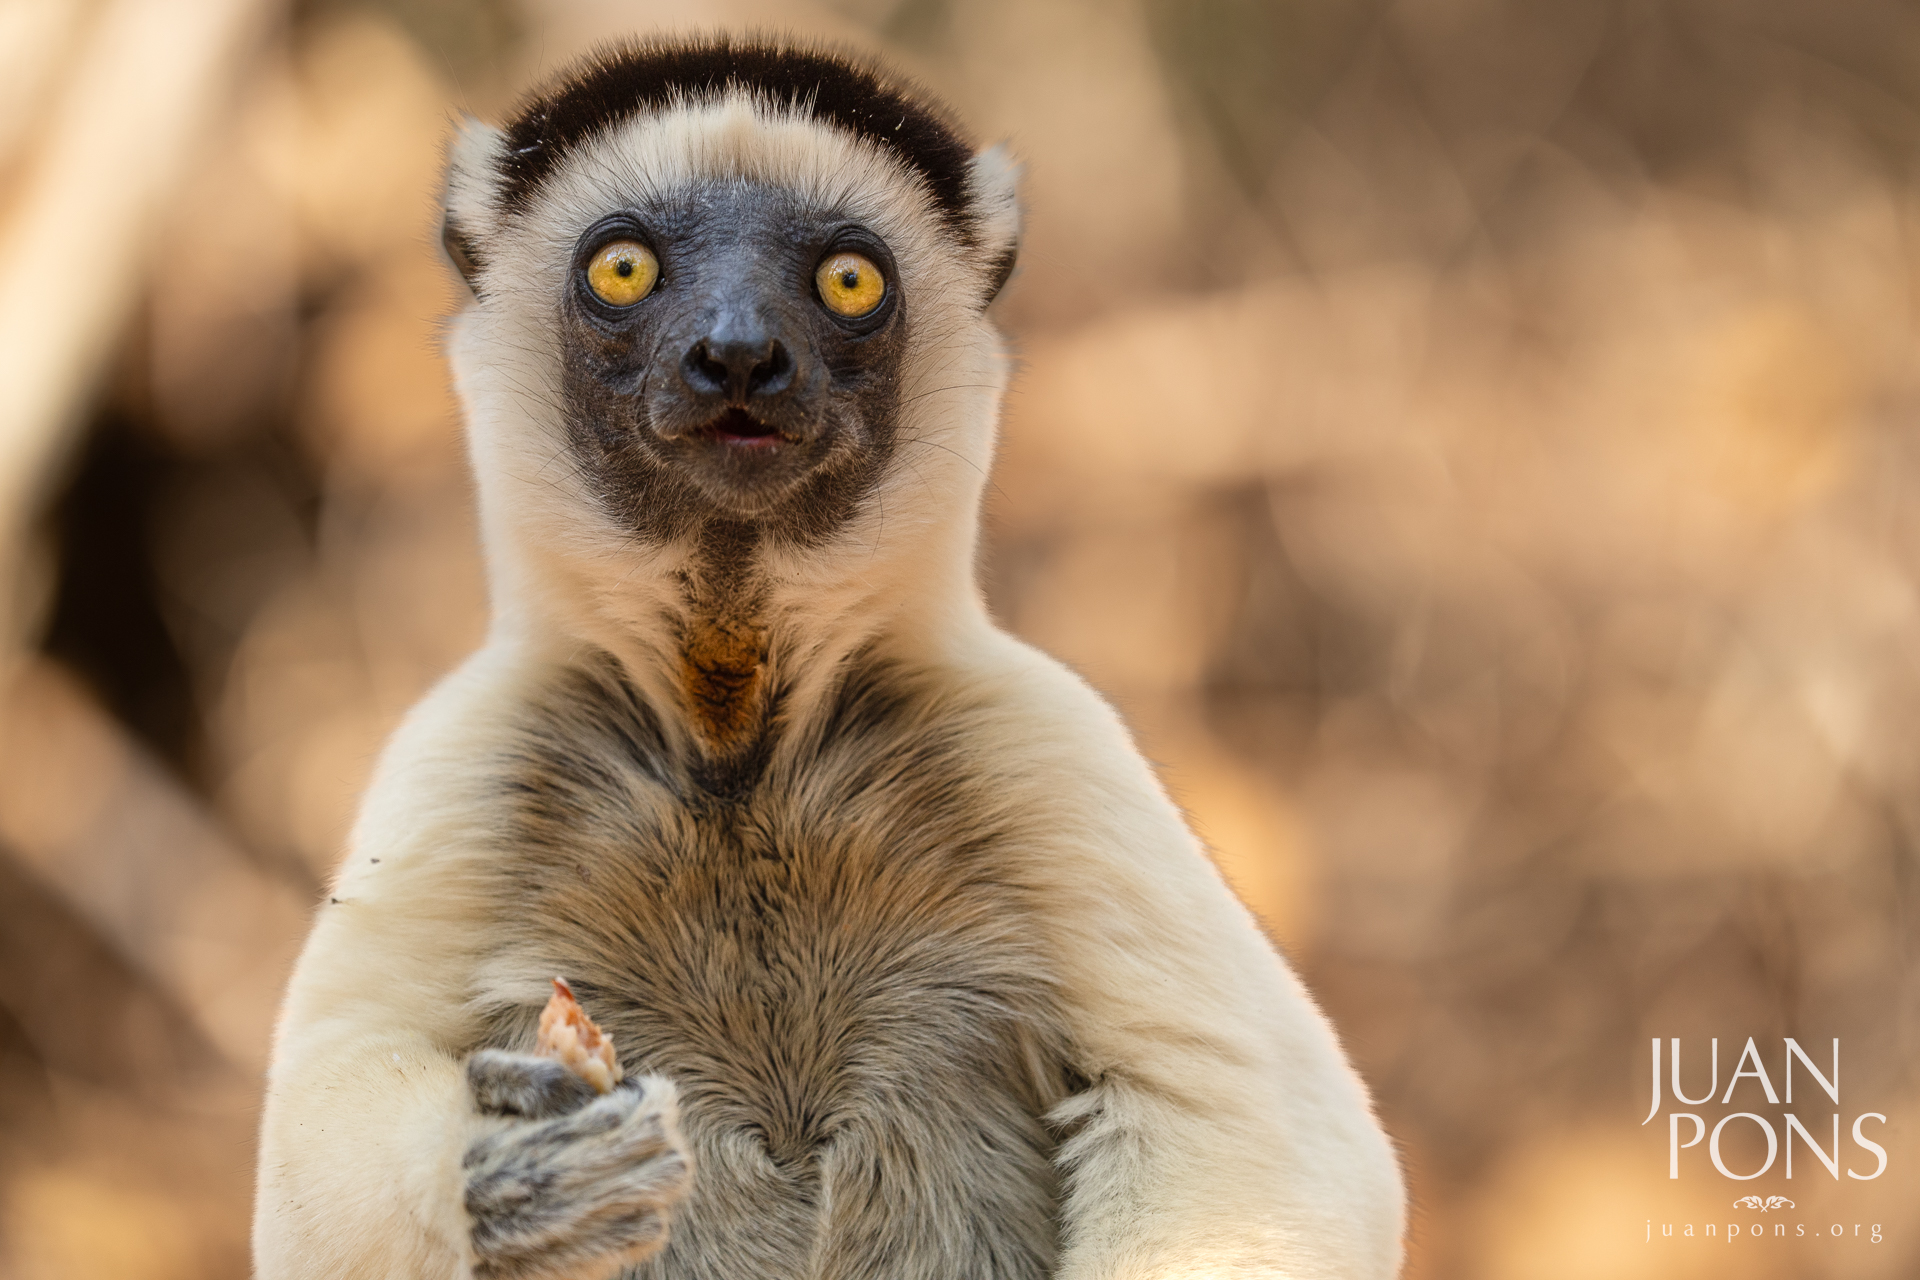
Madagascar Safari Adventure
Sept 28- Oct 10, 2024 - 4 Seats Remaining
October 12 - 24, 2024 - SOLD OUT

Pumas In Patagonia Adventure
April 17 - April 26, 2025: 2 Seats Left

Galapagos Wildlife Adventure
May 5 -12, 2025 - 2 Seats Left (1 Female & 1 Male Shared Cabin)
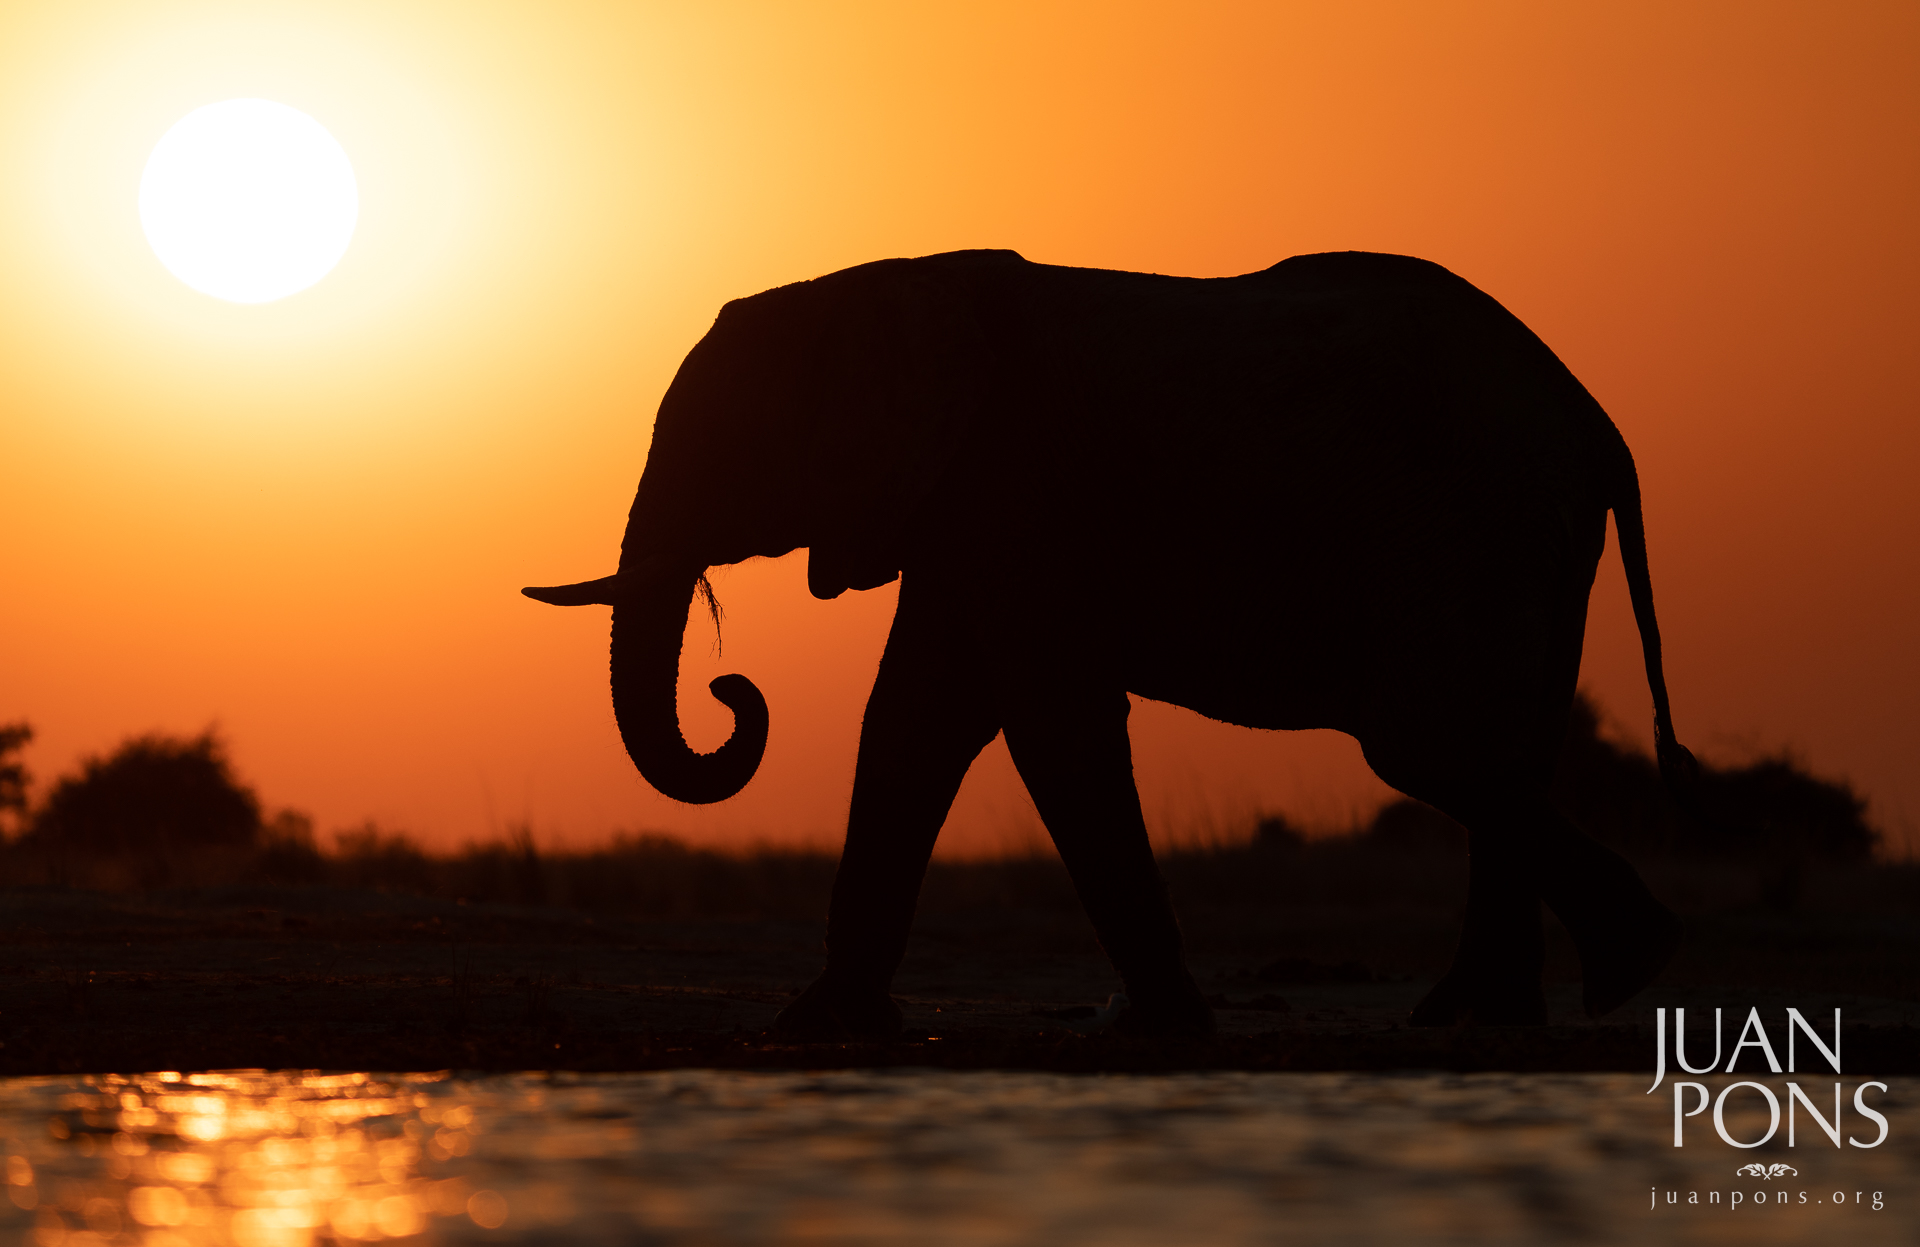
Botswana & Zambia Safari Adventure
June 6 - 17, 2025
South Africa Photo Adventure
November 2025 Dates Coming Soon
Sign Up For Early Access To Registration

Winter in Yellowstone Photo Workshop
January 2026 Dates Coming Soon
Sign Up For Early Access To Registration

Cuba Cultural Photo Workshop
March 2026 Dates Coming Soon
Sign Up For Early Access To Registration
Kenya Safari Adventure
October 2026 Dates Coming Soon
Sign Up For Early Access To Registration
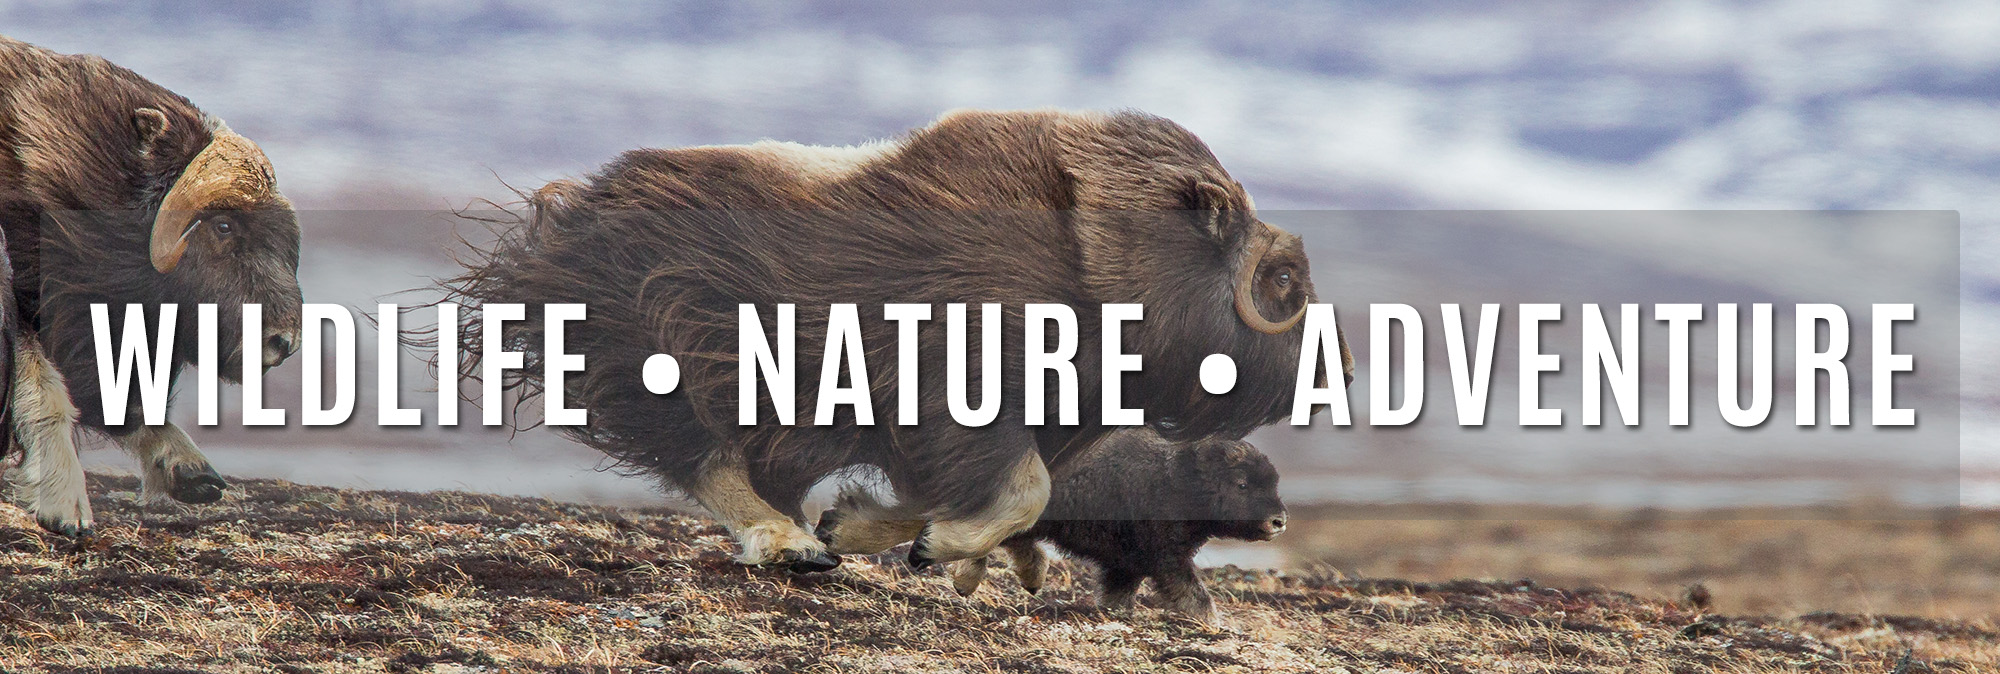
Alaska Wildlife Adventure
April 17 - 25, 2024 - Sold Out
Botswana Safari Adventure
June 1 - 12, 2024 - Sold Out
JUNE 14 - 25, 2024 - Sold out
Costa Rica Caribbean Adventure
December 3 - 12, 2024 - Sold Out
Winter In Yellowstone
JANUARY 23 - FEBRUARY 2, 2025 - SOLD OUT
FEBRUARY 5 - FEBRUARY 13, 2025 - SOLD OUT
Birds of Ecuador Photo Adventure
April 28 - May 3, 2025 - Sold Out

Tigers of India Photo Adventure
May 16 - 25, 2025 - SOLD OUT
May 23 - June 1, 2025 - SOLD OUT
Katmai Brown Bear Photo Adventure
August 19 - 26, 2025 - Sold Out